
This is Part 1 of a four-part series documenting this Rocklin small yard pool project — a small yard pool in Rocklin, California that required a structural retaining wall, specialized excavation equipment, and a construction schedule built around two knee replacements.
How the Project Started
My first contact with this customer came by email on a Sunday afternoon about a small yard pool design in Rocklin. He had seen a post I made on Facebook about a small pool I had designed in a tight yard. That post caught his attention because his situation sounded similar — a steep slope, a constrained backyard, and a family that wasn’t sure a pool was even possible. The pool in my recent Facebook post seemed perfect for what they were looking for.
I called him the following Wednesday, left a voicemail, and followed up by email. He responded the next day and confirmed what I already suspected: the backyard was very small, and he wasn’t sure a pool was even possible.
When I met them for the first time and stood in that backyard, they asked me, “What do you think — can we put a pool in here?” I didn’t hesitate. I said yes. I could already see it — a rectangular pool set tight to the house with a retaining wall handling the slope. Then they asked about access. I looked at the side yard and told them we have alternative excavation methods that would work, but it would take time to design it correctly, and that’s where my design agreement comes in.
Hillside construction and constrained access are not problems I avoid — they are the conditions I have spent thirty-five years learning to solve.
A significant portion of the pools I build in the Sacramento foothills involve sloped sites, structural retaining walls, and access limitations that require specialized equipment and methods. Most of those projects started with a homeowner who had been told by someone else that a pool wasn’t possible. Before we moved forward, I told them this is how I handle all of my projects. I use a design agreement — it’s a paid consultation, and I credit that fee 100 percent toward the construction if they decide to build with me. That gives me the time to come out, measure everything properly, build the 3D model, work through the details, and put together a clear cost breakdown. A contractor who gives you a number before measuring a hillside site hasn’t solved your problem — he’s guessed at it. The design phase is where a project like this gets figured out. They were good with that and gave me the go-ahead, so we set the site visit for Thursday, October 10th.
I’ve been building custom gunite pools in Rocklin and the surrounding region for over thirty-five years. A small yard with a steep slope is not a reason to say no. It’s a reason to measure carefully.
The challenge was clear from the start — a small backyard with a significant slope and less than four feet of usable access on one side.
Site Measurement and Access Constraints
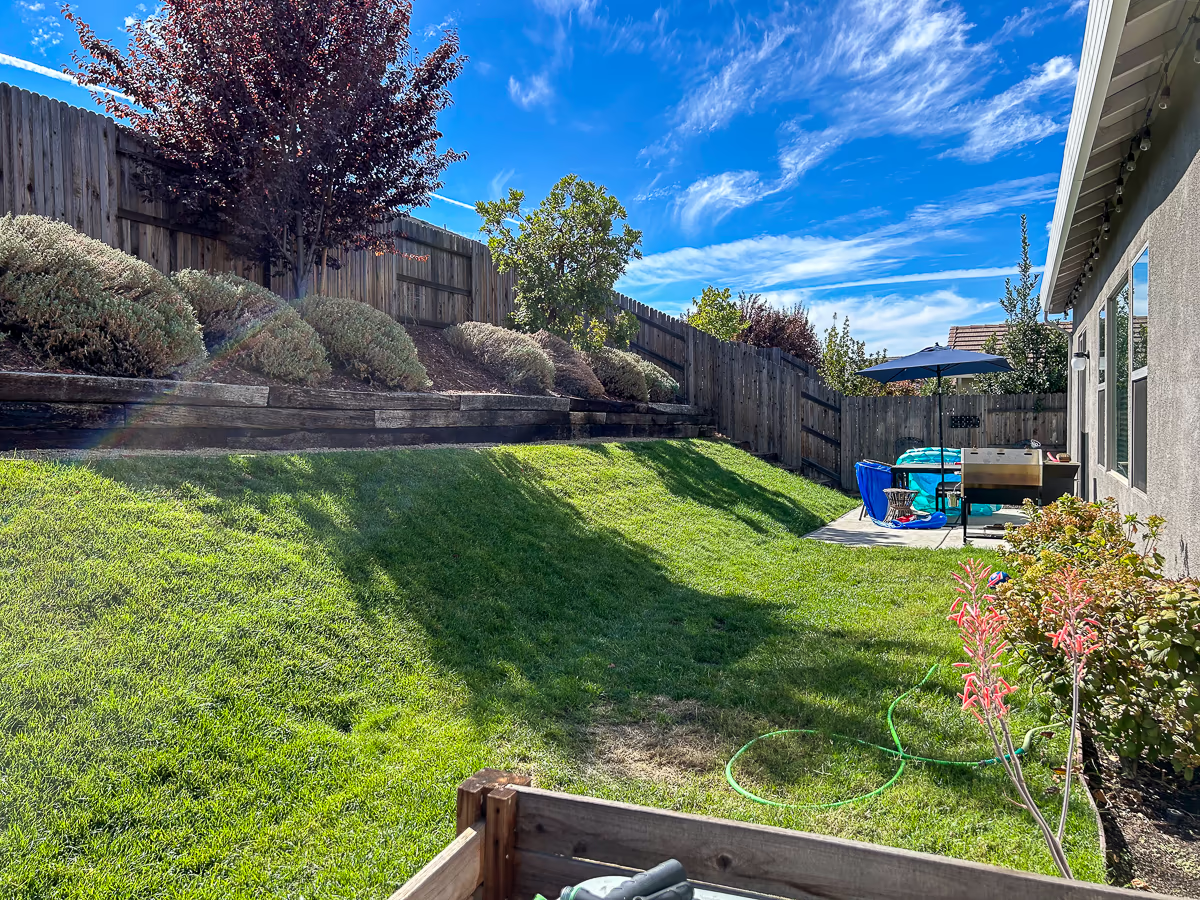
I arrived at 9:00 AM with my clipboard, my file folder, and my tapes — two 100-foot engineering flexible tapes and a 35-foot hand tape. On a tight site like this in Rocklin, every inch matters, and I don’t estimate. I measure.
Before anything else, I document the house and site conditions — every wall, elevation, and constraint — because this is what determines whether the project is actually buildable. Every wall dimension and every window — height, width, and location — goes on paper. That might seem excessive for a pool project, but there’s a reason for it. When I build the 3D model in Pool Studio Viz Terra, I can position the camera inside any room and look out through the actual windows to see exactly what the pool features will look like from that vantage point. That’s only possible if the measurements are exact. You’re building a scaled virtual world, and accuracy is what makes it useful.
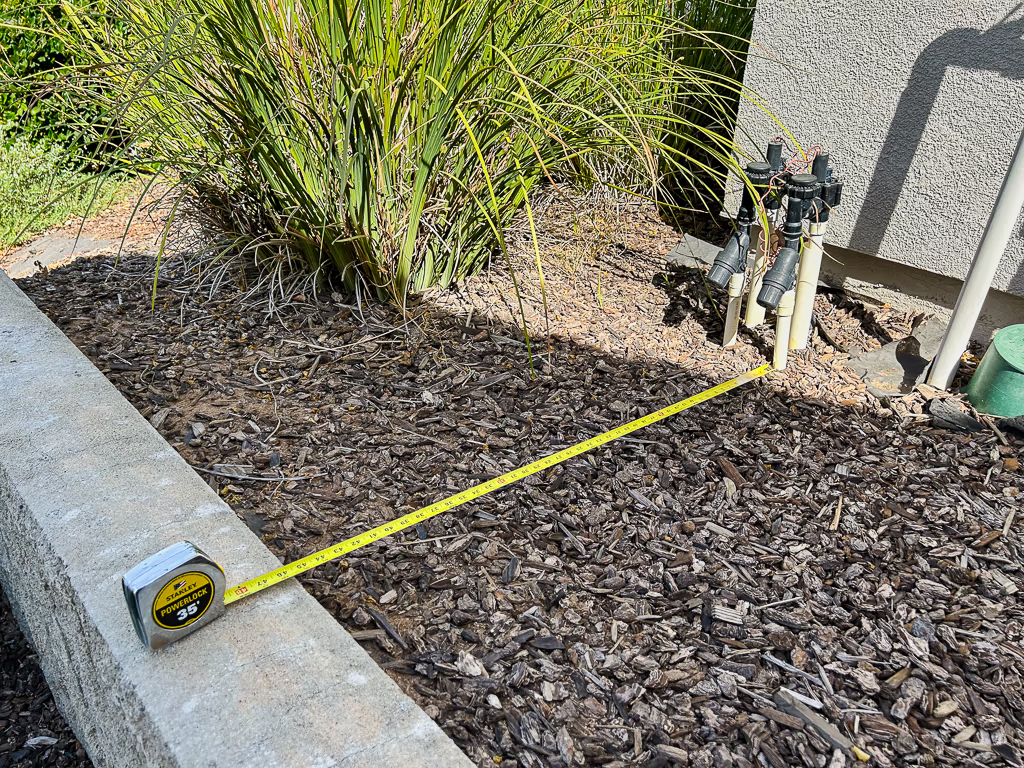
After the house, I measure the property lines in relation to the structure, noting every landscape feature, every utility, and every constraint. On this property, the side yard access was critical. The raw opening from the house wall to the retaining wall measured 4 feet 7 and a half inches. But the water main and irrigation lines running along the house wall reduced the actual working clearance to 3 feet 9 and a half inches. Standard excavation equipment requires a minimum of 8 feet of clear working width. At 3 feet 9 and a half inches, that equipment cannot enter the yard. I documented that measurement precisely because it eliminated one construction method entirely and required a different approach from the ground up.
Recording Elevations and Site Photography
Next I set up my laser level to shoot all of the elevations needed for an accurate topographic representation of the site. A steep slope like this one has to be modeled correctly before you can design in it. If the elevations are wrong, the wall heights are wrong, the pool depth is wrong, and the construction plan is wrong. Every elevation shot matters.
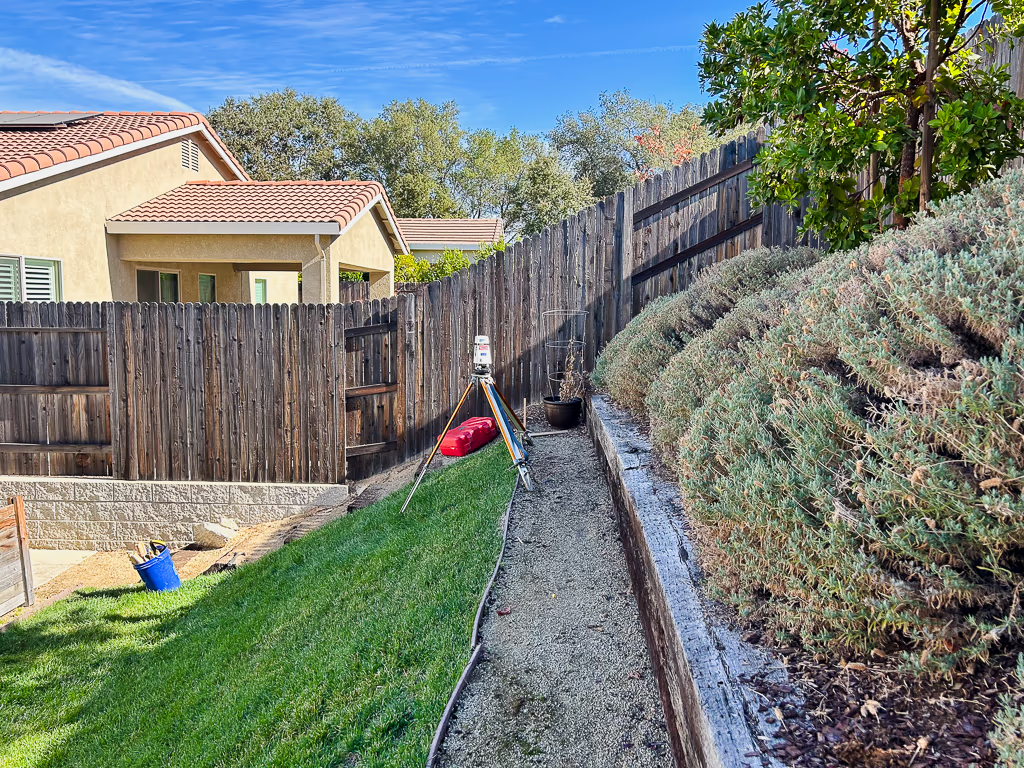
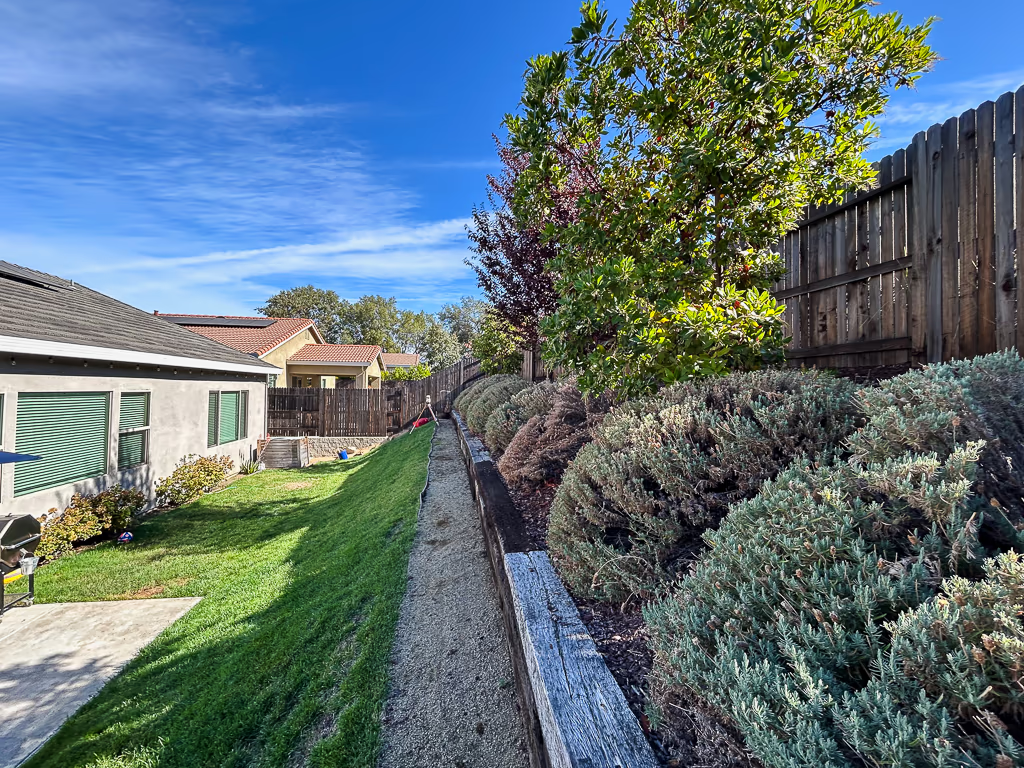
That one measurement defined everything that followed — the equipment, the method, and whether the project was even possible.
I photographed everything on that site — every constraint, every feature, and every access point. Documentation is part of the process. Then I went back to the office to start building the design.
Building the 3D Model for a Small Yard Pool Design in Rocklin
With all measurements and constraints documented, the next step was translating the site into a precise 3D model to test what was actually buildable.
I work in Pool Studio Viz Terra Premium Edition. Every field measurement from that morning goes into the model — the house footprint, the windows, the property lines, the slope elevations, and the access corridor. When the model is accurate, you can design with purpose. You can see exactly how much room you have, where the walls need to go, and what every feature will look like from every angle, both inside and outside the house.
I also consulted with the City of Rocklin early in the process regarding pool equipment setback requirements for a yard this tight. I wasn’t going to present a design that would run into a code requirement after the fact. I designed to full code compliance from the first draft. The City of Rocklin manages residential pool permits through their Building Services Department.
First Design Presentation — October 14, 2024
Four days after the site visit, I sent the homeowners the first complete design package for this small yard pool design in Rocklin.
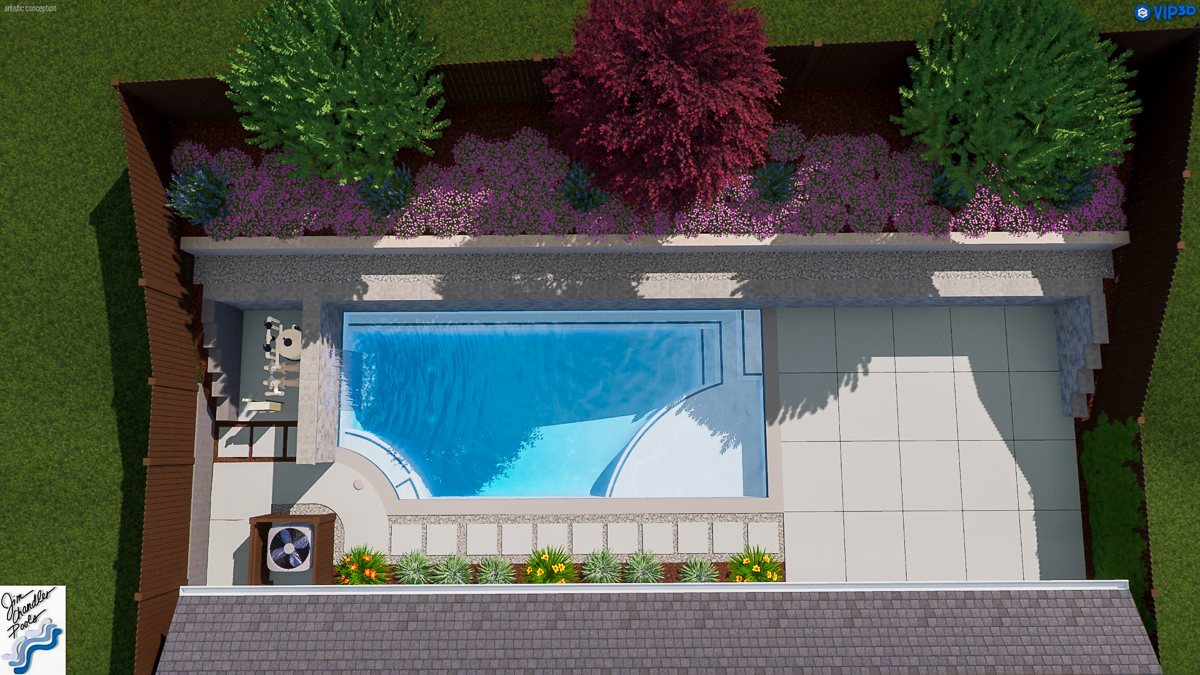
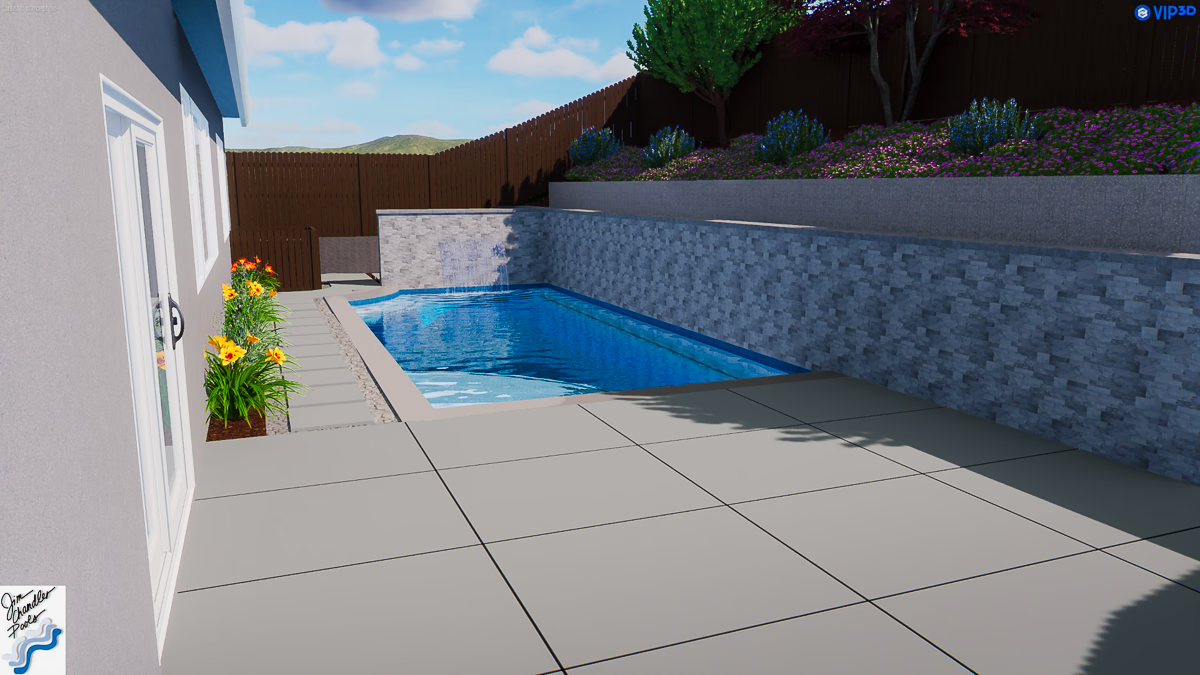
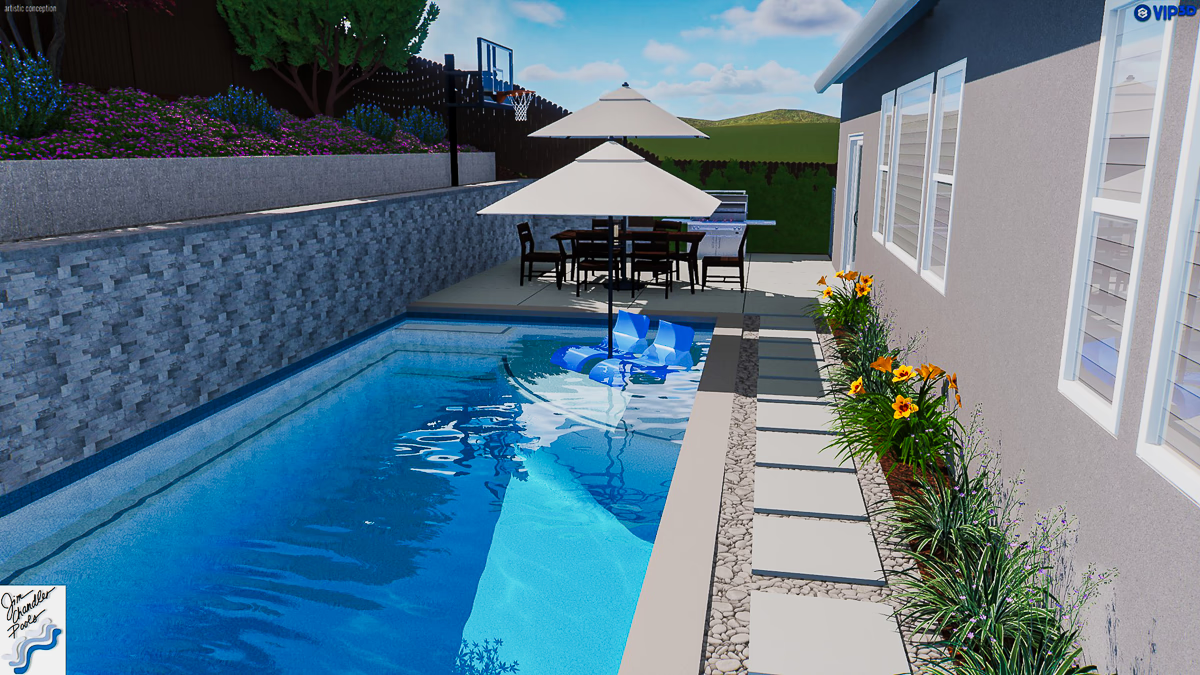
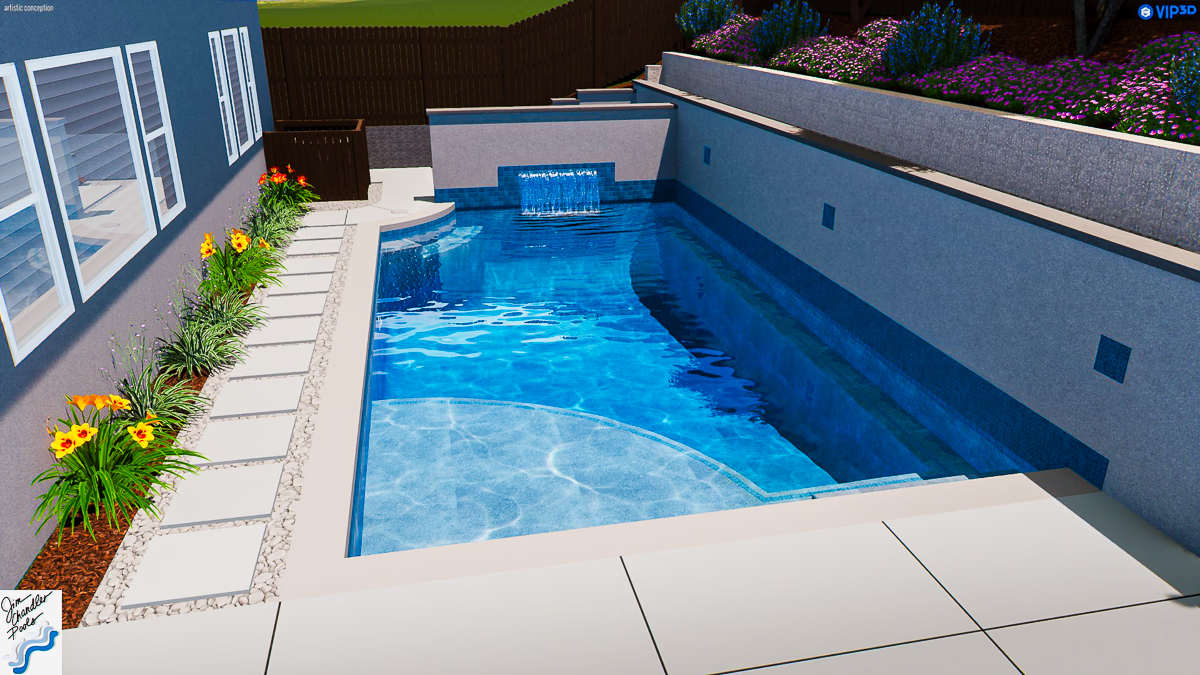
The design showed a pool approximately 13 feet wide by 29 feet long, with a depth ranging from 3’6″ to 7′. I included a large Cabo shelf at the second step — about 1’7″ deep — sized for ledge loungers. The pool equipment was positioned behind the deep end wall, which also carried a 4-foot sheer descent waterfall. The structural retaining wall stood 4’6″ high on the uphill side with a decorative stacked concrete wall at about 1’10” in front of it, separated by rounded light-colored pebbles.
I sent 28 screenshots rendered from multiple angles and in three configurations: full furniture layout including a basketball hoop, furniture layout without the hoop, and no furniture at all so the homeowners could see the space clearly. The window positions in the renders were drawn from the actual field measurements — what you see looking out from inside the house is accurate to what would actually be there.
In-Person Design Review — October 30, 2024
I prefer to present a design in person whenever I can. A 3D model on a laptop at the kitchen table is a completely different experience than screenshots in an email. The homeowners can ask me to rotate the view, zoom in on a feature, or look out a specific window. They can see their yard in real time and give me direct input.
We met at the property on October 30th at 4:00 PM. I brought my laptop with the full Pool Studio model loaded and we went through the design together. That meeting is where the design really begins to take shape, because the homeowners start to see possibilities they couldn’t picture before.
Design Iterations and Structural Limits
What came out of that meeting and the weeks that followed was a series of width revisions driven by the homeowners’ input and the physical limits of the site for this small yard pool design in Rocklin.
I had started at 12 feet wide. They wanted more, so we went to 13 feet, then to 15. At 15 feet, the structural retaining wall stood 5 feet tall, with 2 and a half feet of slope continuing behind and above it — 7 and a half feet of total grade change above the pool.
A 7.5-foot grade change means the wall is not a decorative element — it is an engineered structural system carrying significant soil load. A wall in that condition has to be designed to hold, not just to look right.
That was the limit. I told them we couldn’t go any wider. We both agreed 15 feet was right, and I was confident we could build it.
This is the kind of structural judgment that comes from experience on hillside sites specifically. I previously served as a paid Swimming Pool (C-53) Subject Matter Expert panelist for the California Contractors State License Board from 2012 to 2017 — evaluating the engineering and regulatory knowledge required of licensed pool contractors statewide. Understanding where a wall transitions from finish element to load-bearing structure is exactly the kind of determination that work sharpened.
I continued working with the City of Rocklin throughout this period to confirm the design met all permit requirements. By November 15th the final dimensions were locked at 15 feet wide by 29 feet long, with the equipment positioned a minimum of 5 feet from the water’s edge per city code.
Does your yard have slope, limited access, or both?
The first step is a visual site consultation to determine what is actually buildable. If the project is a good fit, we move into a paid design consultation where everything is measured and engineered correctly.
Choosing the Retaining Wall Finish
One of the bigger decisions in any small yard pool design in Rocklin is the finish on the retaining wall. In a yard this size, that wall is not background — it is the dominant visual element. The finish defines what the completed space feels like.
I gave them three options: veneer rock, tile, and stucco. I walked through the trade-offs on each — durability, maintenance, cost, and appearance. They chose stucco. It was the most cost-effective path and it integrates cleanly with the pool shell. I designed the wall finish with a two-coat application in mind — a brown coat first to build out and level the rough gunite surface, then a finish color coat to produce the smooth, clean appearance on the completed wall. Skip that two-coat process and the wall shows every irregularity in the gunite beneath it.
Before finalizing finishes, we evaluated multiple interior options to balance color, depth perception, and long-term durability.
Permit and Final Plan Approval
With the design approved and the construction contract signed, I finalized the plans and submitted the permit through the City of Rocklin’s online portal on February 20th, 2025. I submitted from home that day — I was waiting for knee replacement surgery that had been scheduled and then delayed. More on that in the next post.
The City of Rocklin was straightforward to work with throughout. A complete, well-organized submittal makes the process run smoothly. I’ve been doing this long enough to know what reviewers need to see, and I made sure it was all there from the start.
With the permit submitted and the construction start date on the calendar, the planning phase was complete and the project was ready to move into excavation.
What Comes Next
Getting soil out of this backyard required equipment and methods you won’t see on a standard pool job. Two Yanmar mini excavators worked simultaneously inside the yard. A conveyor belt threaded through a corridor less than four feet wide. In total, approximately twenty ten-yard dump trucks hauled material to the street.
Most homeowners never see this part of the process — but this is where projects like this are either solved correctly or fail before they start.
Rocklin Small Yard Pool — Excavation in a Tight Backyard
CSLB C-53 License #585004. Learn more about our approach to small-yard and hillside pool construction. Return to the Rocklin Small Yard Pool project overview.